
Tanning has multiple benefits, mostly health benefits such as reducing the risk of skin cancer. However, once tanned, UV rays can be harmful to your skin. Fortunately, sunless tanning is the ideal solution to that.
However, getting that natural tanned look through sunless tanning is not easy as chances of having blotches and streaks when using sunless tanning are high.
Read on to verse yourself with tips on how to achieve a natural-looking tan through sunless tanning.
Shave
Shaving excess hair in your body should be done the day before applying your self-tanner. Shaving a few hours or minutes from tanning is not advisable as droplets of the self-tanner might accumulate in the pores.
Shaving after tanning, on the other hand, is pointless as it makes your self-tanner last less long. Shaving is a form of exfoliation, and you should do it before exfoliating your skin using a facecloth and exfoliants.
Exfoliate
Exfoliate using a face cloth to remove the dead skin from your body and face. Upon exfoliating in the shower, use AHA or BHA exfoliants to exfoliate your dry skin further.
AHA exfoliant is ideal for normal to dry skin, while BHA is for normal to oily skin that is prone to spots. These exfoliants are gentle to the skin and act ideally in repairing sun-damaged complexion.
Apply Oil and Fragrance-free Lotion or Cream
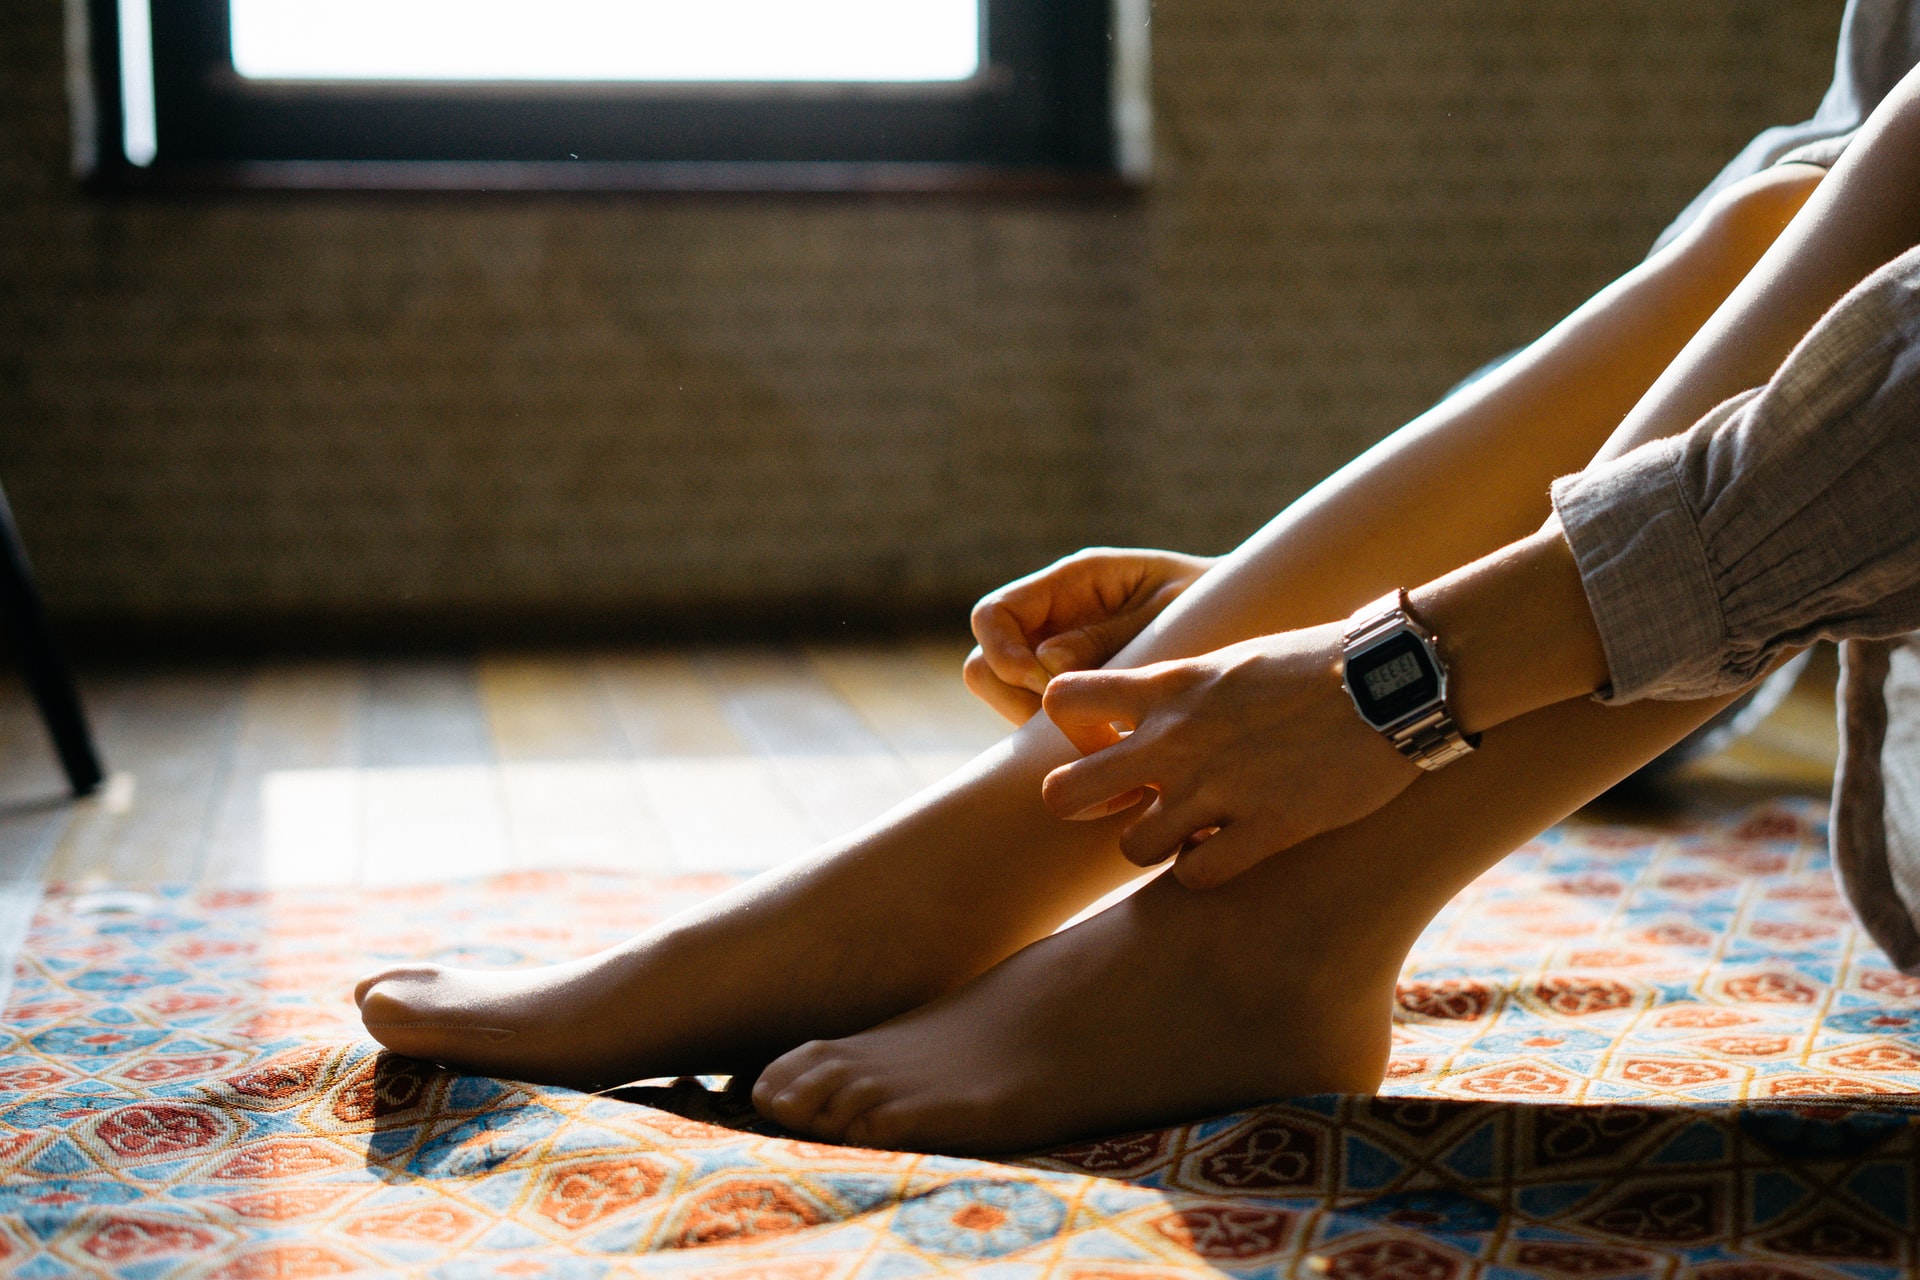
After cleansing, apply day cream or lotion on drier skin. Also, concentrate on areas like ankles, elbows, and knees where dead skin cells tend to accumulate.
Doing so prevents these parts of the body from accumulating more self-tanner than other parts. Also, it’s advisable to apply moisture on your face 20 minutes before tanning.
Use these creams on your dry skin and a moisturizer on your face before tanning to prevent blemishes.
Cover Your Skin
To avoid orange spots on the soles of your feet caused by stepping on tan residue, use a painter’s tape to cover your sole. Alternatively, you can use gaffer tape. Both these options are easy to use and not difficult to remove once done with tanning.
Concentrate on Your Knuckles
Given that you don’t walk with your fingers straight concentrating on your knuckles is essential. Do this by bending your fingers when applying the self-tanner.
Applying the self-tanner while your fingers are bent ensures every part of your knuckles is tanned.
Don’t Start With the Elbows and ankles
Elbows, ankles, and knees tend to take a lot of self-tanner as they have a high accumulation of dead skin. Also, these areas often have dry and damaged skin.
Dry skin absorbs excess tan. This means that, if you start tanning your elbows and ankles over other parts of your body, chances are you might finish the self-tanner.
Skip these areas first. Then, go back and slightly use the remaining tan, making sure you balance the concentration while avoiding overdoing it.
Tan the Hard-to-reach Areas
Reaching areas like the back is hard when self-tanning. Fortunately, there’s a hack that eases the hassle of tanning your back.
Tie your tanning glove on a back brush to design your gloove stick. Now, apply your self-tanner on the glove stick and brush the hard-to-reach areas.
Evenly Distribute Your Tanner
Evenly distributed tanner prevents quick depletion. To evenly distribute your self-tanner on the mitt, make sure you apply the tanner in the center of the glove then fold it into half.
Evenly distributing the tanner moderates how you apply the tanner. In that, the amount of tanner you use on your face should not be the same as the amount applied to your thighs.
This moderation prevents overdoing your tanning.
Blend the Tanner on Your Hands
Your hand has nooks and spots. These areas are seclusive yet easily visible on tanning, so it’s vital while tanning your hand you make sure you perfectly blend the tanner.
Blending evens out any dark spots and prevents the appearance of any streaks after tanning. Also, blend your tanner in areas that often tend to crease. These areas include the toes, knees, and between your fingers.
Use a sponge brush to achieve a perfect blend on your hands.
Contour
Applying a tanner on your face can end up being disastrous if you wrongly do it. To avoid such a scenario, stick with tanners meant for the face.
Keep the tanner concentrated under your cheekbones, jawlines, and temples. Then lightly apply the tanner on other parts of your face.
Doing so creates a slightly contoured effect and prevents an overdone face tan.
Also, instantly contour your body to achieve that natural tan look. Contouring your body involves tanning your abs, glutes, legs, and arms.
Exfoliate Your Palms once Done with Tanning
Whether you use a glove or not, chances of having tanner leftovers on your palms once done with tanning are still high. To solve this issue, use an exfoliator.
Do not submerge your palms in water. But instead, use the exfoliator’s grittiness to get the tan off by rubbing your palms together.
Once you’ve scrubbed off the tanner leftovers on your palms with an exfoliator, use a makeup wi[e to further exfoliate your palms. Alternatively, you can use a facial toner that contains alcohol to wipe off the tanner on your palms.
Clean Your Nails
While exfoliating your palms, don’t forget to clean your nails. Clean your nails using a cotton swab or a makeup wipe. Do the same with your toenails. Cleaning your nails prevents stains.
Time to Dry
Once done with the tanning and post-exfoliation, it’s time to dry. You can choose to be patient and let the tan dry, or you can use a dryer to dry.
Either way, it all depends on your urgency, while drying lightly pat areas that are prone to creasing with baby powder. Using this powder prevents sweating on creasing areas while the tan develops.
If you tan regularly, you must use dark sheets on your bed to avoid stains and the hassle of changing your shets after every tan.
Self-tanning by using sunless tanning lotion prevents harmful UV rays from affecting your skin. However, it’s not easy to achieve a natural look with self-tanning. Fortunately, with the above tips, self-tanning has never been this easy.
Kamalpreet Singh
Working as a freelance contributor for several news platforms over the years, Kamalpreet has a well-thriving interest in the education sector. Kamalpreet heads at the post of editor at BO Herald and he contributes his knowledge and expertise in reporting Education News.


